How to Fix Runny Pudding: A Quick Troubleshooting Guide
October 13, 2026 - Puddings

October 13, 2026 - Puddings
October 11, 2026 - Baking

October 09, 2026 - Seasonal

October 05, 2026 - Desserts
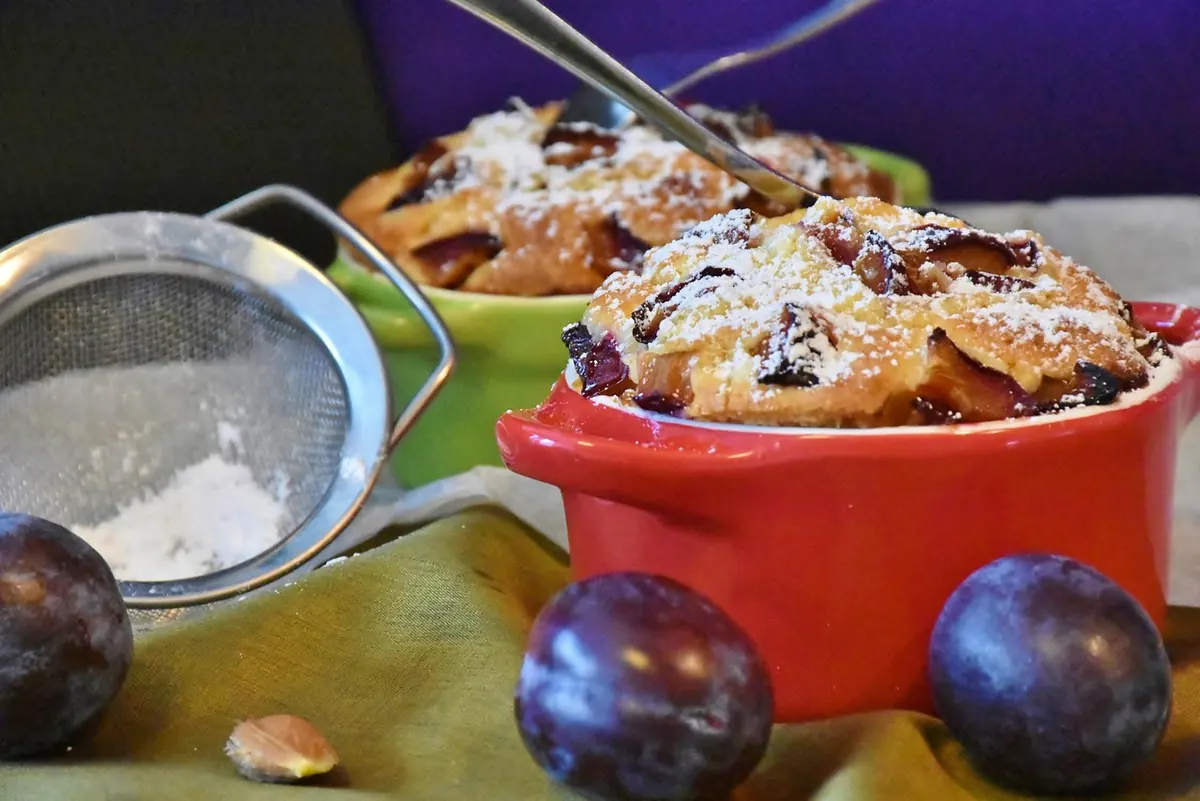
Cracks on a baked custard are almost always a heat problem. The custard set too fast, or it kept cooking after it was already done. Once you understand what the eggs are doing, a smooth, glassy top stops being luck. Three things matter most: the water bath, the oven temperature, and the moment you decide the pudding is finished.
A custard is eggs, dairy and sugar, and it sets because egg proteins unwind and link together as they heat. That linking begins around 160°F and firms up quickly by 180°F. Push past that and the proteins tighten, squeezing out the water they were holding. The surface sets first because it sits closest to the heat, so when the still-liquid center expands and releases steam, it pushes against a top that can no longer stretch. That is a crack.
Three habits get you there faster than you would think: a hot oven, a dry pan, and waiting for a knife to come out clean. A crack does not ruin the pudding — it is still safe and usually still good — but cracked custards tend to be slightly overcooked, which shows up as a grainier texture and a little whey pooling around the bottom of the ramekin.
A water bath works because water cannot get much hotter than 212°F. Instead of blasting the ramekins with 350°F air, you surround them with a jacket that hovers in the 190–210°F range and transfers heat gently. The edges set slowly, the center catches up, and the whole pudding firms evenly.
You can bake custards without one. Drop the oven to 275–300°F and set the ramekins on a baking sheet. It works, but the margin between set and cracked gets narrow. For a first batch, the bath is worth the extra two minutes.
Two numbers do most of the work.
How you build the base matters too. The cold-start method blends everything and bakes longer. The hot method scalds the milk and cream, whisks a splash into the beaten eggs to warm them, then combines everything and bakes. The hot method takes more care but gives a smoother curd and a shorter time in the oven.
Egg choice shifts your margin. A formula with more yolks — three yolks plus one whole egg per two cups of dairy, for instance — is richer and a little more forgiving, because yolks carry fat and lecithin that slow protein coagulation. All whole eggs set firmer and faster, leaving less room for error.
This is the part that separates a silky custard from a cracked one.
When in doubt, turn the oven off, crack the door, and let the pudding coast in its bath for ten more minutes. Residual heat is gentler than the element.
Lift the ramekins out of the water as soon as they come out, or leave them in the bath for 10–15 minutes to slow the cooling. Either is fine. What you should not do is rush the next step.
Cool to room temperature on a rack, then refrigerate. Chill at least four hours, overnight if you can — baked custard firms as it cools and the flavor rounds out. To prevent a skin, press plastic wrap gently against the surface, or tent foil over the top once the pudding has stopped steaming. Never seal a hot custard airtight; trapped steam condenses and leaves the top wet and spotty.
None of these are safety issues, but baked custards are egg-based: keep them refrigerated and eat them within three or four days. If you have particular food-safety concerns, follow your local food-safety guidance rather than guessing.
Use six 6-ounce ramekins. Warm two cups of whole milk — or one cup milk plus one cup cream — with a pinch of salt and a teaspoon of vanilla. Whisk three egg yolks and one whole egg with half a cup of sugar until just combined, with no foam. Temper the hot dairy into the eggs in a slow stream, whisking constantly, then strain the base into a pitcher. Divide it among the ramekins, set them in the bath, and bake at 325°F for 35–45 minutes, checking at 30.
Pull them when the center wobbles and the thermometer reads 170°F. Cool in the pan for ten minutes, then on a rack, then chill. The first batch teaches you how your oven behaves. The second one will come out without a single crack.
Photo: RitaE / Pixabay
Runny pudding is usually fixable. Here's how to diagnose the problem, cook it thicker, add the right thickener, and...
Stovetop stirring gives you silky, spoonable pudding; a baked water bath gives you a clean, sliceable set. Here's...
October 13, 2026 - Puddings
October 11, 2026 - Baking
October 09, 2026 - Seasonal
Copyright © 2026 Modern Pudding. All Right Reserved.